
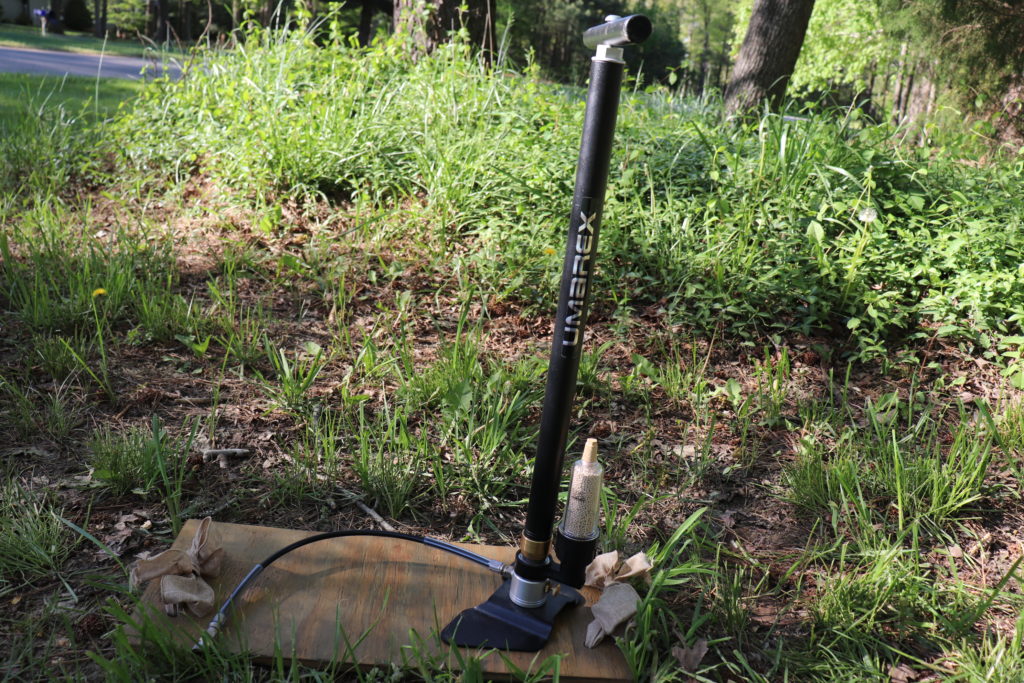
There are 2 ways to fill the air tank on PCP air rifles. The 1st is an air compressor. The 2nd is hand pumps. While hand pumps take longer, they allow you to use precise strokes and be more exact with the pressure in the tank. The particular hand pump I used comes in a flat box and you must assemble some parts of it. This is how to assemble the Umarex “SuperFill” PCP handpump.
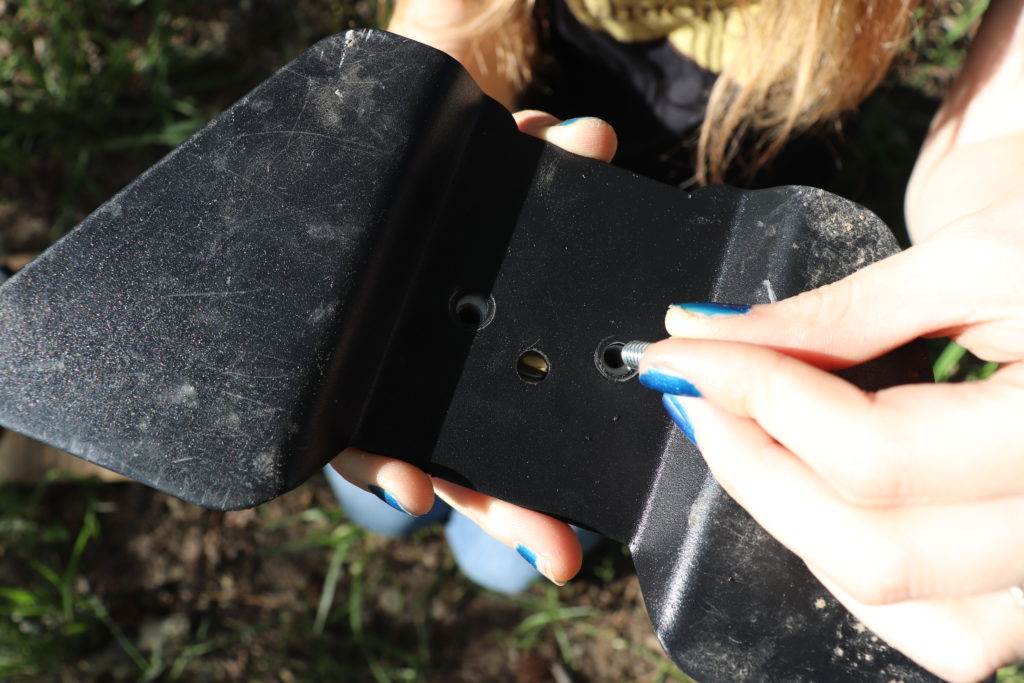
Step 1: Attach the feet
I would consider attaching the feet to the pump as the 1st step as it allows you to use the feet to hold the pump in place. On the bottom of the pump are 2 holes that line up with the holes in the feet. With the 2 included screws, attach the feet to the pump and tighten using the allen key included in the kit.
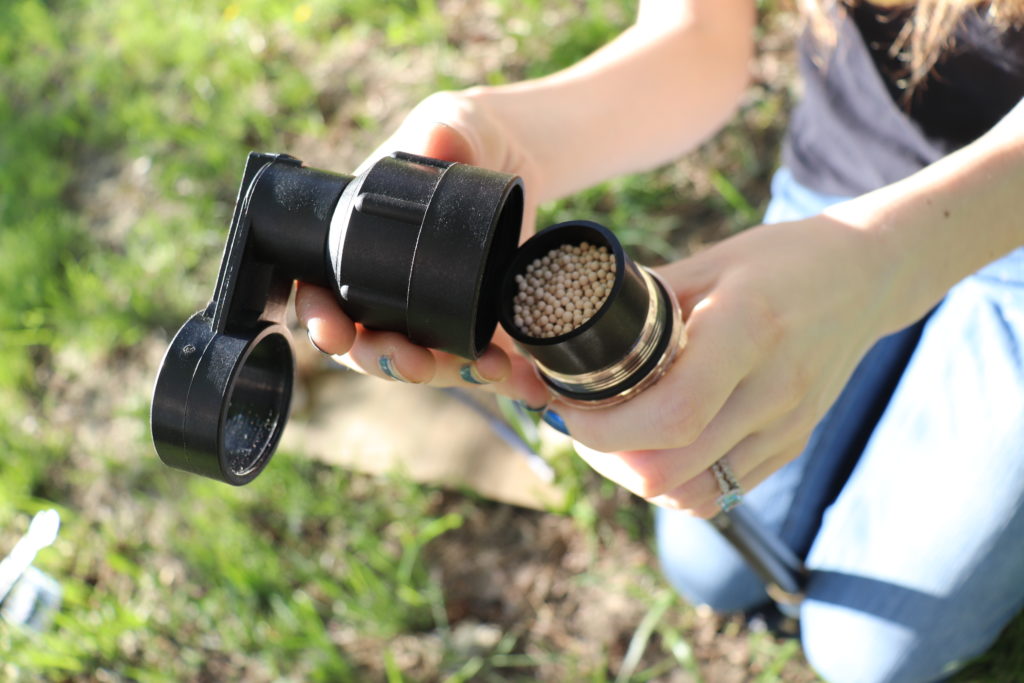
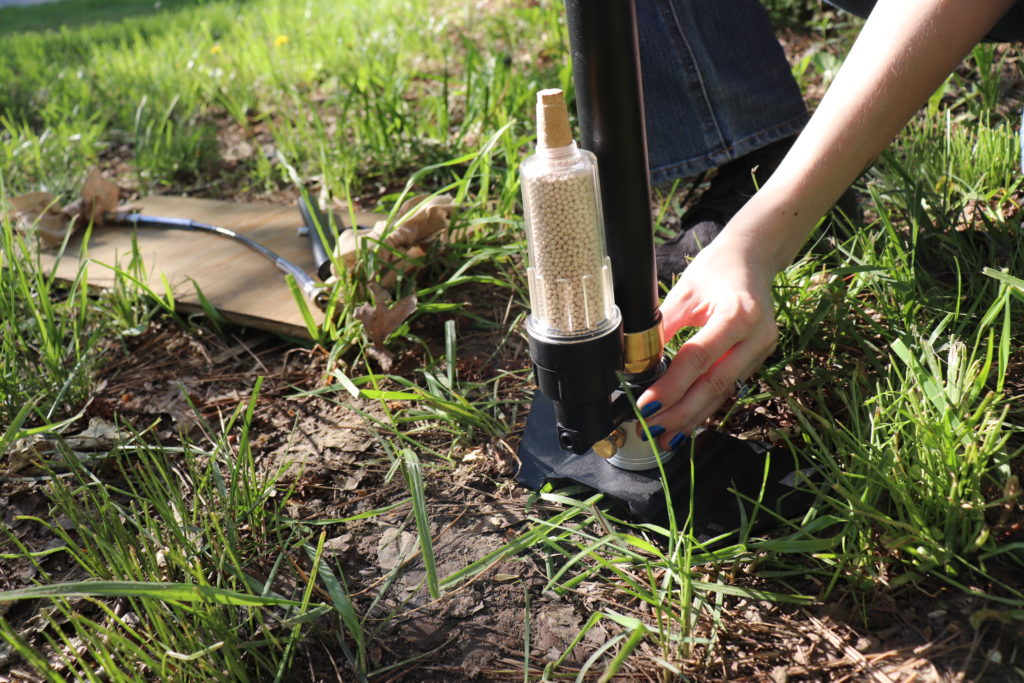
Step 2: Assemble the Dry Pack and install
Open the canister and fill it with 1 full pack of the dry pack insert. Make sure the material comes up to the top of the canister. Screw the lid on tight and slip the canister onto the pump tube until it is seated tight over the o-rings at the bottom. This step is optional, but recommended.
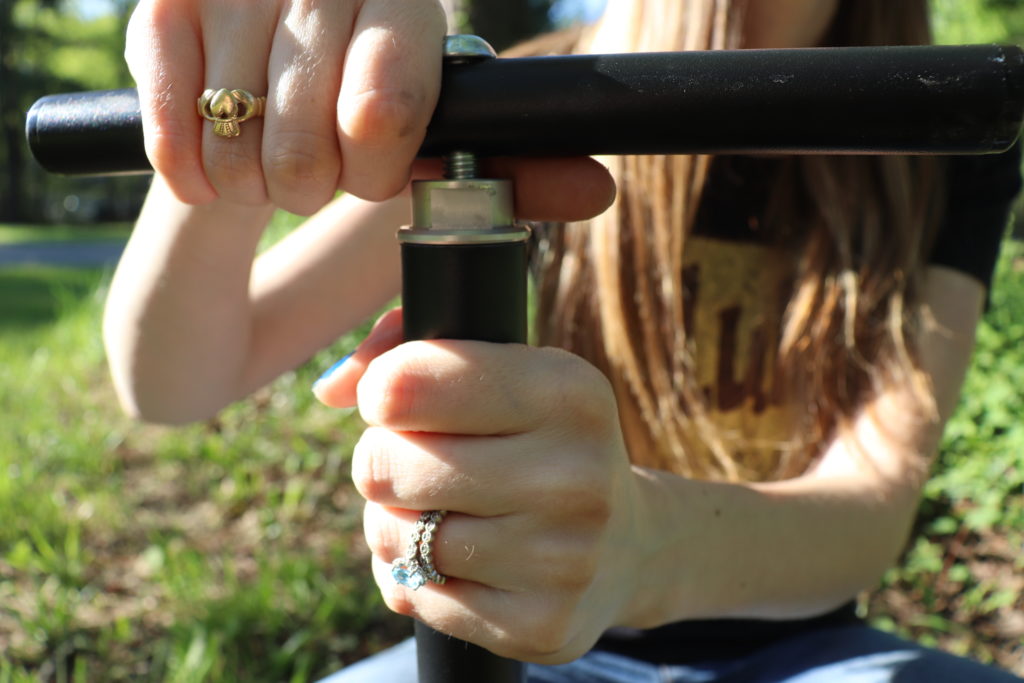
Step 3: Install the handle
The handle is really easy to put on. Simply screw it onto the top of the pump tube. The bolt is already installed into the handle so the whole unit goes on in one step.
Step 4: Attaching the Valve
You’ll need 2 wrenches to attach the valve to the hose. They can be adjustable or you can use the exact size. The hose uses a 14mm wrench and the wrench size for the fitting depends on the fitting. Tighten that connection down but don’t use any bonding or sealing agents.
Step 5: Attach the hose to the pump
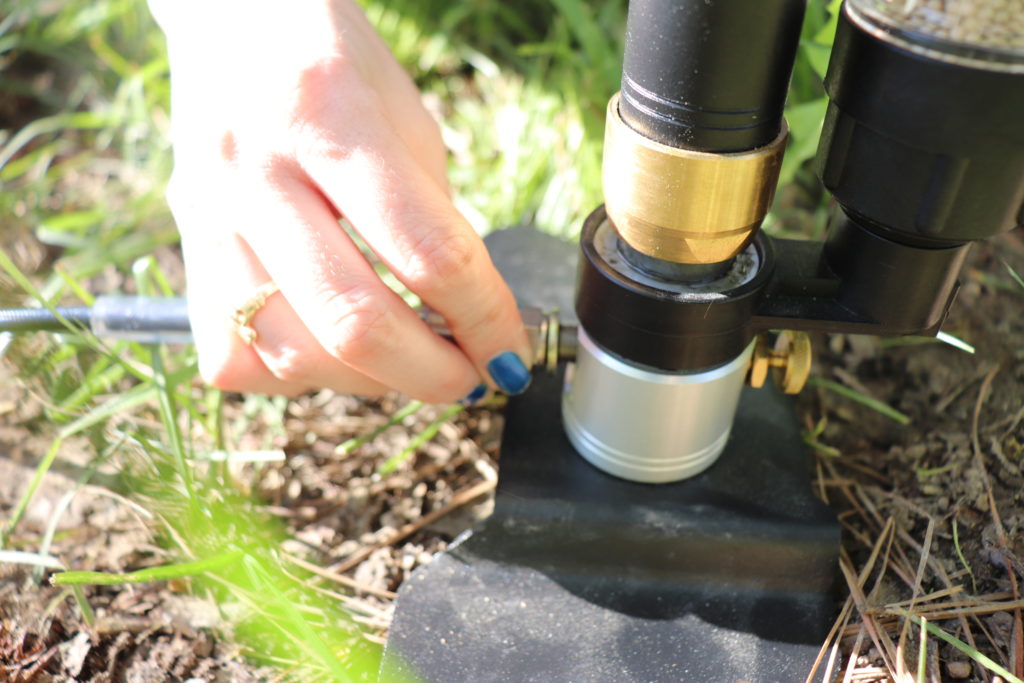
Line up the threads on the hose to the base of the pump. Use an adjustable wrench or 14mm wrench to tighten the hose to the pump. Do not use and bonding or sealing agents on this connection.
Step 6: Adjusting the bleed valve
Now that your hand pump is assembled, you are almost ready to start using it. The bleed valve needs to be closed in order for the air to make it to the tank. Tighten the valve by turning it clockwise. However, after pumping up your air rifle, make sure to open that valve to release any pressure in the pump.
Until next time!
-Kat
Leave a Reply