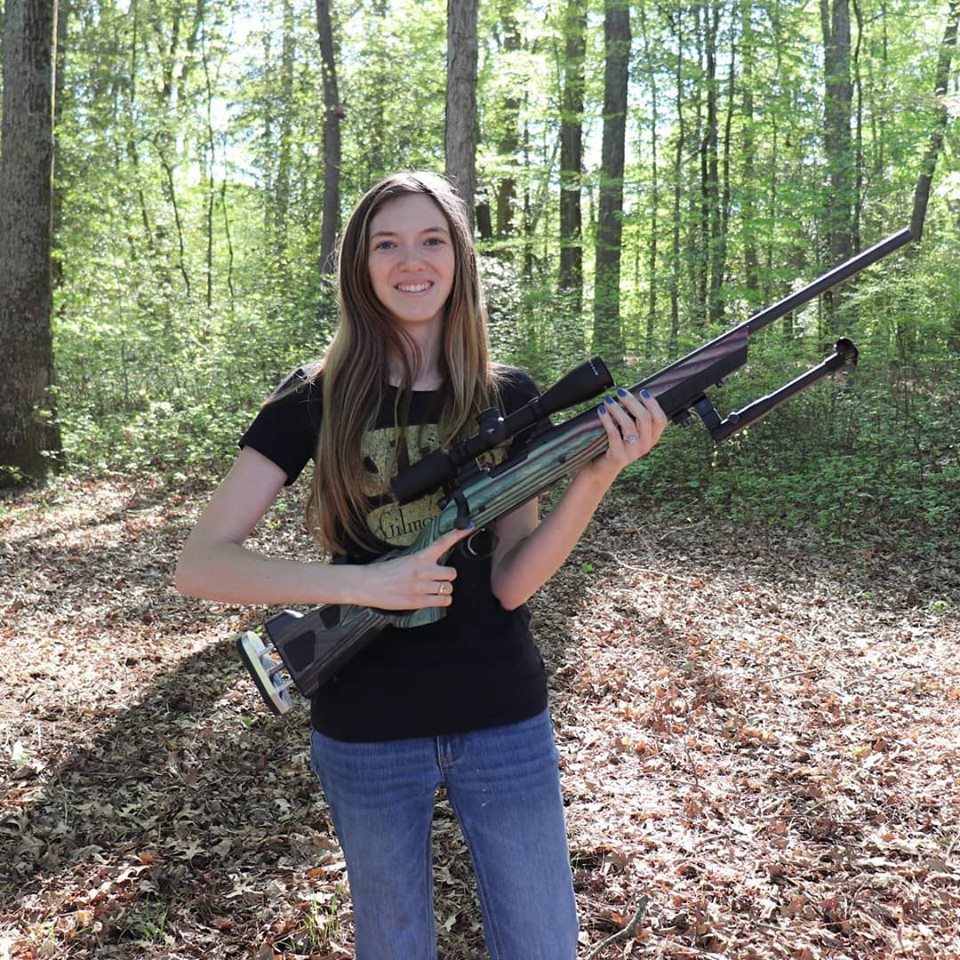
Looking through that scope as you shoulder your rifle, taking aim at your target whether it be flesh or paper. Nothing replaces that feeling, especially when it’s your first rifle. There’s a connection between a hunter and their first rifle. If you got it when you were a kid, the stock was probably cut short so you could learn how to shoulder a gun properly. As you grew up, it became too short for you and you had to get different rifles to fit you. But what if you didn’t have to do that anymore? What if you could get one rifle and have it grow with you?
So, I set out on a journey to build the ideal youth rifle that would grow with you and back again when it came time to hand it down to the next generation. But I had quite a road to travel. How would I decide exactly how to build an ideal gun that would adapt to the hunter instead of the hunter adapting to the gun?
Step 1: Rifle Cartridge
First would be what cartridge this rifle would chamber. I needed to decide what the best cartridge would be for a youth rifle that would still be useful to an adult. With so many options to choose from, I narrowed it down to cartridges that were suitable for hunting with limited recoil, but I also wanted something with a LOT of ammunition choices. My final choice for cartridge became the .243 Winchester. Ammunition is readily available and easy to find from multiple manufacturers and with many choices as to bullet weight and grains of powder.

Step 2: Base Rifle
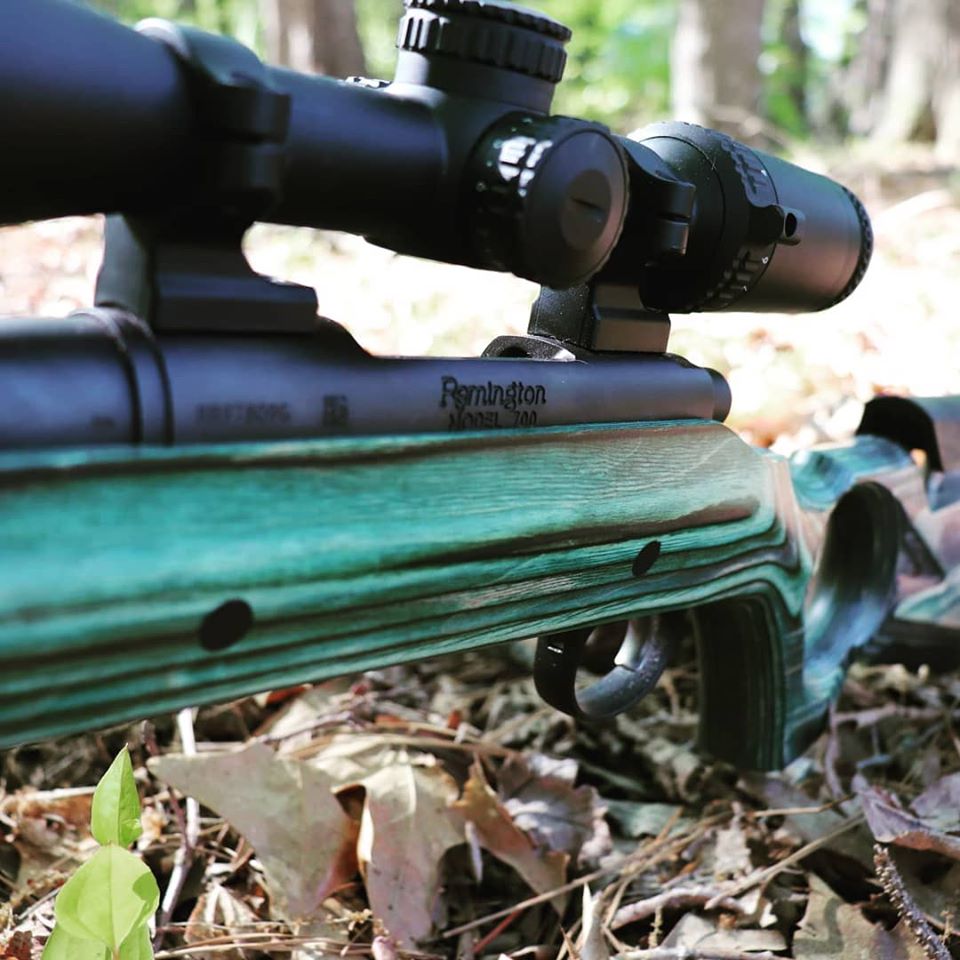
Once I had the cartridge narrowed down, then it was time to decide what rifle I would start with. With so many rifles chambered in .243 Winchester, I pretty much had my pick. I didn’t want to start with a “budget” rifle since this build would become an heirloom. Some of the more obvious choices are the Remington Arms Model 700, Savage Arms 110, Ruger American, and the Browning X-Bolt. I wanted something with time-tested reliability, an affordable price tag, and outstanding customer service. After much deliberation, the Remington Arms Model 700 SPS Compact came out the winner and I needed to move onto the next step. MSRP: $731.00

Step 3: Optics and Mounting
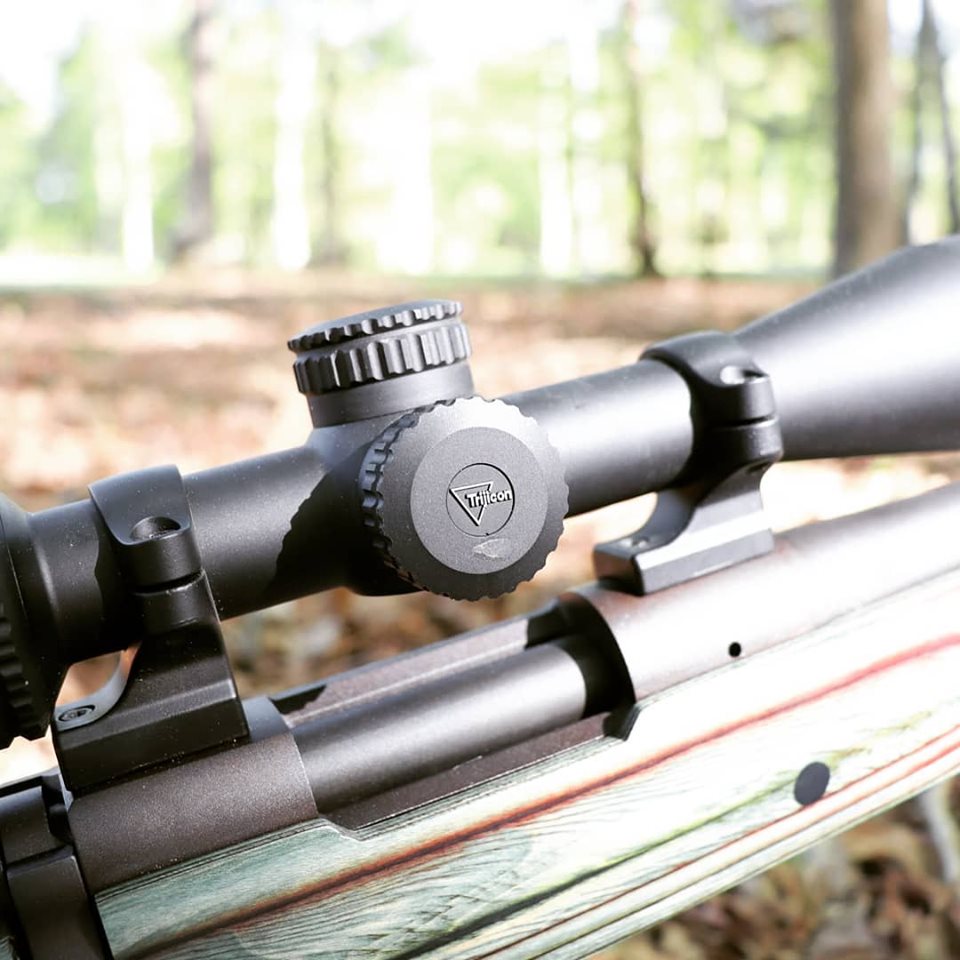
Choosing optics can be a difficult and time-consuming task. Everyone has their own opinions and preferences when it comes to scopes and mounting hardware. First, I needed to look at who I would get my scope from. With so many manufacturers on the market, I started with the biggest ones. I scoured Leupold’s website, read reviews on Trijicon, Nikon, NightForce, and Bushnell, just to name a few. I researched different objective sizes and zoom ranges. After a lot of research, I decided on a Trijicon AccuPower 3-9x40mm riflescope with a green illuminated duplex reticle. Trijicon has amazing customer service, a high-quality product, and fair prices. As for the mounting hardware, I took the easy route and picked up a set of black integral scope mounts from Remington. These mounts were affordable and already designed to fit the Model 700 rifle and a scope with a 1” tube.
Scope MSRP: $699.00 Mounting Hardware MSRP: $34.95
Step 4: Aftermarket Gunstock

Stocks can be a tricky thing. There are so many options directly from the manufacturers, but the only choice for me is Boyds’ Gunstocks. I have been beyond impressed with the comfort and ease of installment with the other stocks I have gotten from Boyds’. Since this rifle needed an easily adjustable stock, the At-One series was definitely the way to go. With the At-One thumbhole stock being the newest addition to this series, and the comfort that comes with a thumbhole stock, I knew the At-One Thumbhole would be the way to go. Boyds’ Gunstocks makes ordering your custom stock easy and fun. Their website allows you to enter your firearm’s make, model, and any other specifics (long action, short action, shotgun gauge), and it will give you a selection of stock designs to choose from. Once the design has been chosen, then it’s time to select the color of your stock. I decided on the limited-edition Covert fade color. Unfortunately, the fade colors are no longer available, but there are so many to choose from. You can even have laser engraving added. Designing your perfect custom stock is so easy with Boyds’ Gunstocks. MSRP: $199.00
Step 5: Ammunition

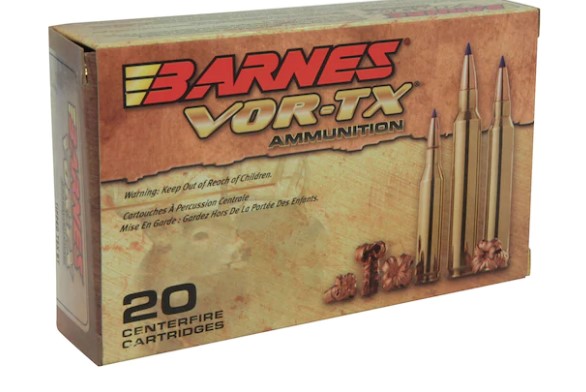
Our perfect youth rifle has been assembled and is ready to hit the range. The last step is to figure out what kind of ammunition you want to use. All rifles are different in this regard. After shooting many different types of ammunition, I determined that I like the Barnes Bullets Vor-TX with 80 grain tipped TTSXTM bullet the best. This is the bullet that flew the best from my rifle. Every rifle is different, so you must find what works best for you. There are so many choices when it comes to bullet weight and shape, that you can find exactly what you like the best. MSRP: $34.99 at MidwayUSA
Building the perfect youth rifle that can grow with the shooter and being able to hand down to the next generation as certainly been an interesting challenge. However, I know that it will be rewarding to watch my children grow up with this wonderful rifle and cherish the memories they create with it.
Do you make a at one stock for a Savage model 11 270 WSM thanks Dan
I’m pretty sure Boyds’ makes stocks for the Savage Model 11. Take a look at their website. The stock builder is really easy to use!